vRealize Automation 7.0 Configuration:
This is the last part of the series on vRealize Automation 7.0 installation and configuration. Since I have already covered the installation part, so in this post I am going to cover only the configuration part.
NOTE: In all these posts I have covered only the automated Wizard installation and Configuration part. This post is also not going to be an exception.
Since vRealize Automation is pretty complex so the manual installation and configuration portion I will cover in separate blog series. The purpose of this blog series was to test the added Wizard based features of vRA 7.0 for a quick PoC setup.
Before I go ahead and start the configuration. There are two very important and useful pictures that I want to showcase. The first one shows the different roles and their duties and the second one details the different roles in a Tenant. These two photos were taken from "vrealize-automation-70-foundations-and-concepts.pdf" document. Provided below are the screenshots.
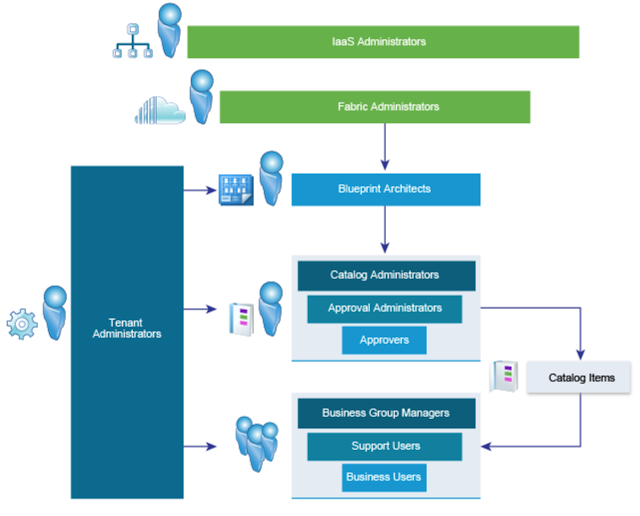
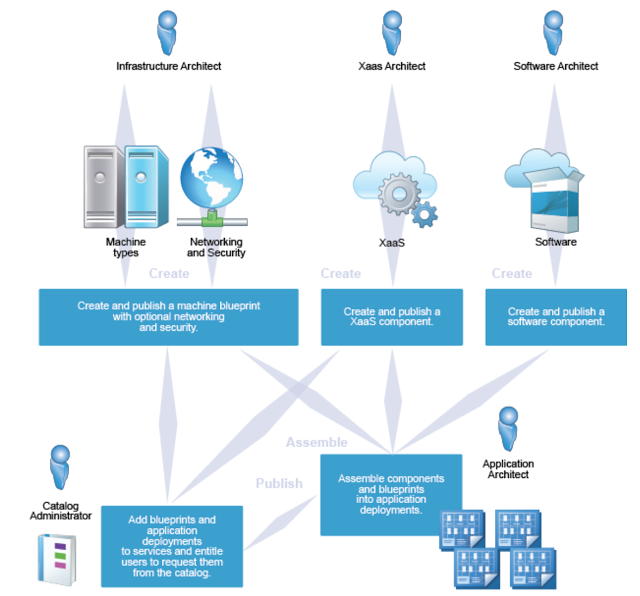
Ok. So from the above two pictures you can get an idea about different roles and responsibilities in vRA. In a future blog where I will cover the manual configuration part I will cover these in more detail.
So let's start the configuration. Remember in the last portion of the installation Wizard was to create an admin role (configurationadmin) in the default Tenant (which is vsphere.local). We are supposed to login to the default tenant with this user id and password that we set in the previous step and further configure the setup.
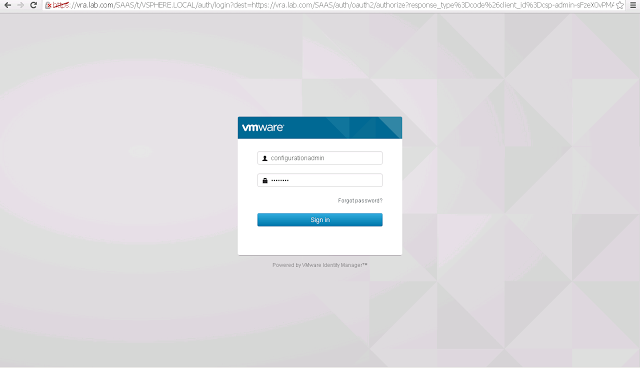
To login to the default tenant you need to go to
https://<vra FQDN or IP>/vcac/org/vsphere.local
- In my case I used https://vra.lab.com/vcac/org/vsphere.local. It asks for user id and password. One point to note here, this is a local user. In the earlier case when we login to the default tenant with "Administrator" user id, we could set the authentication mechanism from there. In this version we can not set it from there. So to set it we need to login to the individual tenant and from there we need to set the authentication server.
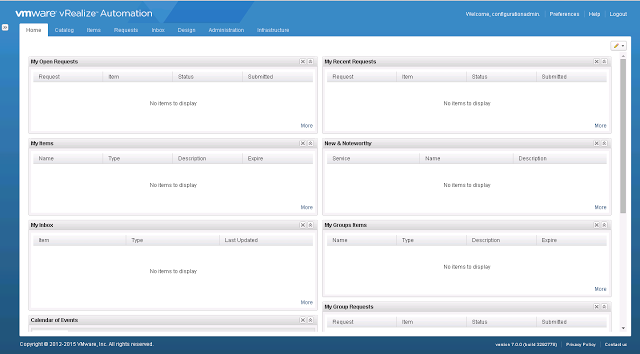
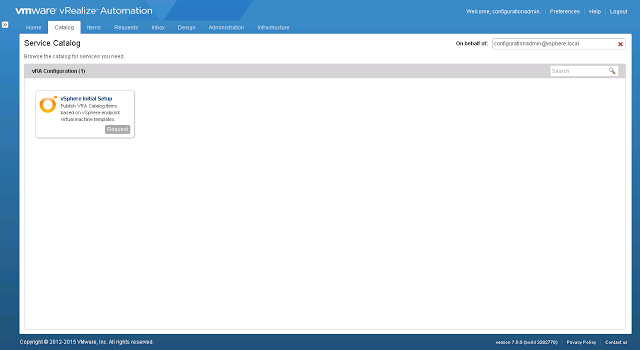
- Once we login with the configurationadmin user id, we come to the Home Page.
- Next, if we check the Catalog, we can see that a default item "vSphere Initial Setup" is already available for us. We will use this to configure the initial setup. Also since this will create and configure everything for us, so I had pre-created a template in vCenter server so that I can use that to create a blueprint.
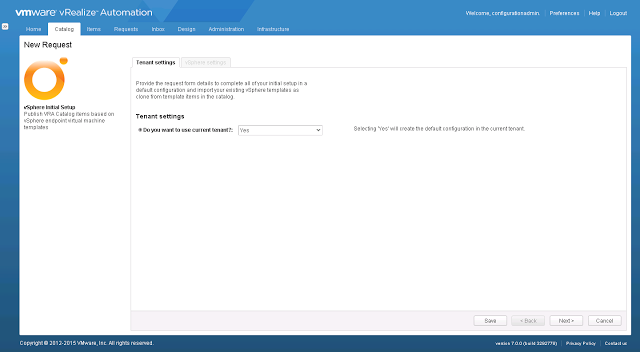
- Next, we will request the item. The first step is whether you want to use the current tenant or use another one.
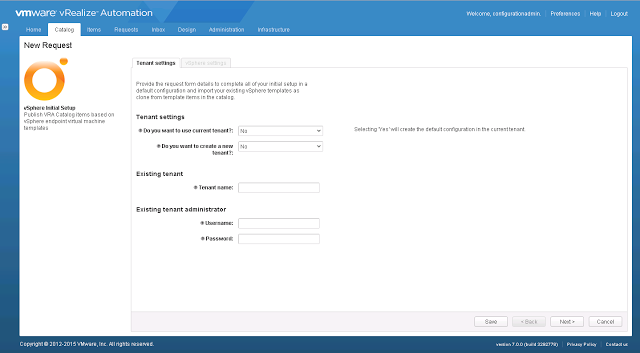
- The next option is where to use an existing tenant or create a new one. For an existing tenant you need to provide the Tenant name and an existing administrator id/password for that tenant.
- For my testing, I want to use a new tenant. To create a new tenant, you need to provide the system administrator password, the new Tenant name and an admin user for the new tenant.
- In the next step we need to provide the End Point details. Note the Endpoint Name is the name that we provided at the time of Endpoint installation in IaaS server. Endpoint host is the Resource host (for vSphere environment it is the vCenter server host). We also need to provide the credentials for the vCenter.
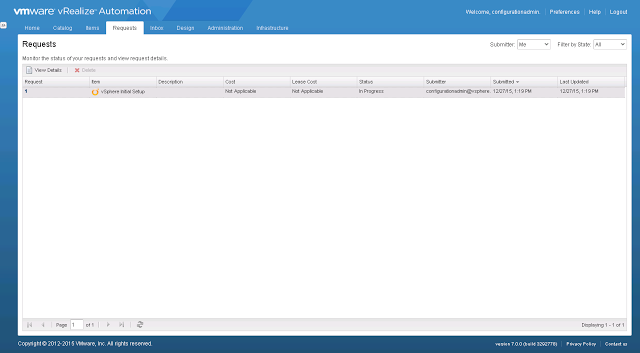
- Next we Submit the request and the job is run as can be seen from the below screenshot.
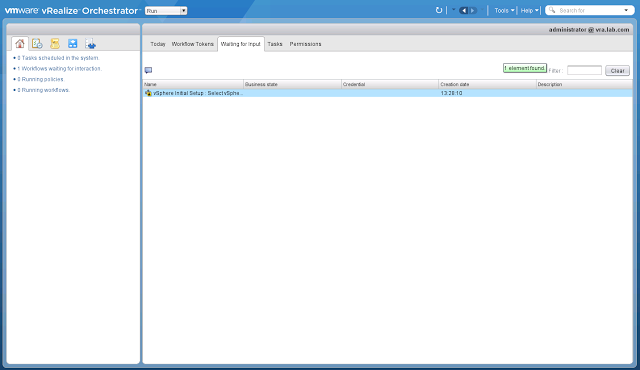
- Since this is a workflow created in advanced service designer, so I can check the status of the running task in the backend vRealize Orchestrator Server (earlier vCenter Orchestrator). vRO is the main orchestrator engine using which we can provide XaaS services. This is a separate discussion altogether and I plan to cover it is future blog. For now we will just check the submitted job in the default vRO server.
- As can be seen from the above screenshot that one Task is waiting for user interaction, if we check the inbox of configurationadmin user we can see there is a task waiting for us.
Screenshots of the above tasks are provided below:


Once we go into the Action we can see that it is asking for the template and End Point Resource details. Here you need to select the Template that you want to use, Storage Reservation, Reservation Resource Pool and Reserved Network details.
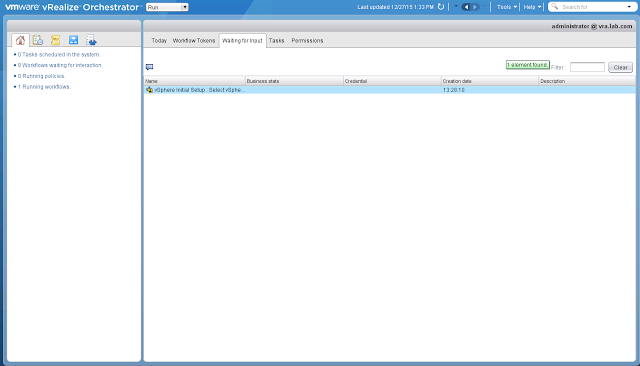
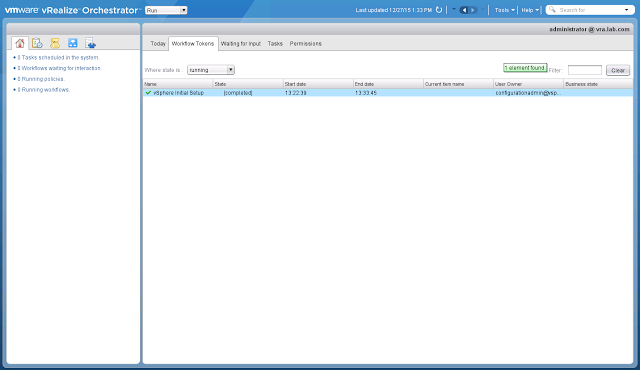
- Once we provide these details, we can see that vRO starts the workflow and completes the setup
- We can see from the Requests tab of vRA that the Request has successfully completed
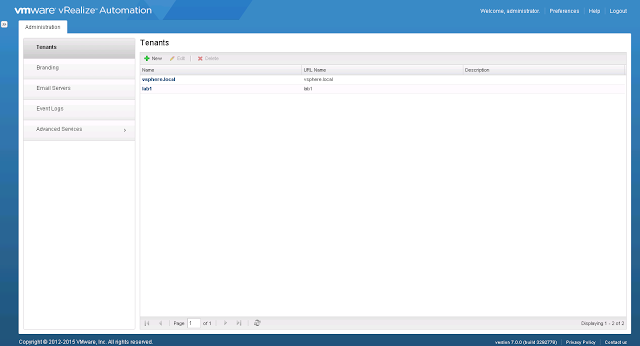
- Since the configuration has completed successfully, let's check what changes it made or what configuration the Task has created. The first checking I want to do is whether the Tenant lab1 was created or not. To check that I logged in as Administrator user in default tenant. I can see that a new tenant with the name lab1 has been created.
- Next I logged in the new tenant with the newly created user "labadmin1". I logged in to the new tenant with the URL https://vra.lab.com/vcac/org/lab1
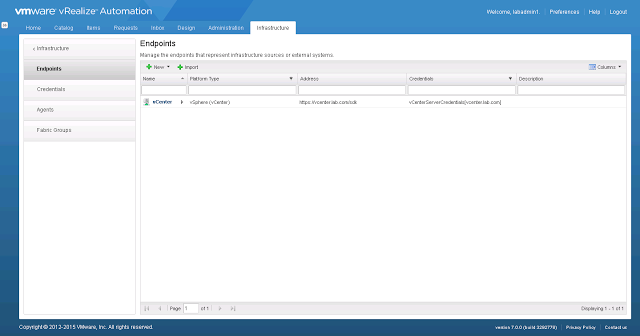
- Once logged in, I wanted to check the Endpoint. Whether it has been created or not.
- Next check the Compute Resources and see whether correct information is being gathered or not.
- Next in the list is to check the Fabric Group. I can see that a default Fabric Group has been created for me.
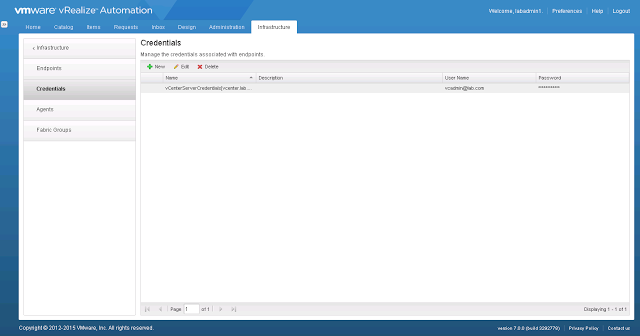
- I can see that the credential that I had given is saved as a new credential.
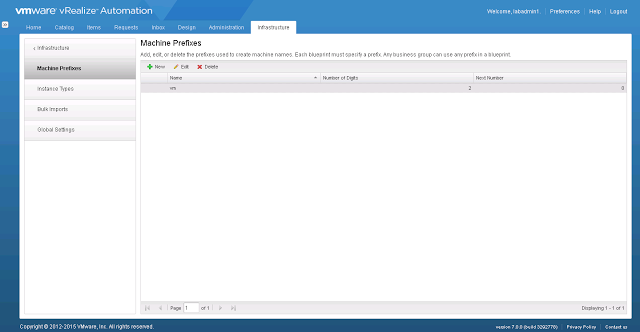
- Next in the list is to check the Machine Prefixes. I can see a default naming convention which starts with "vm" and has two places for numbers has been created for me.
- Next to check is the Reservation Policy. I can see that a default Reservation Policy is set for me.
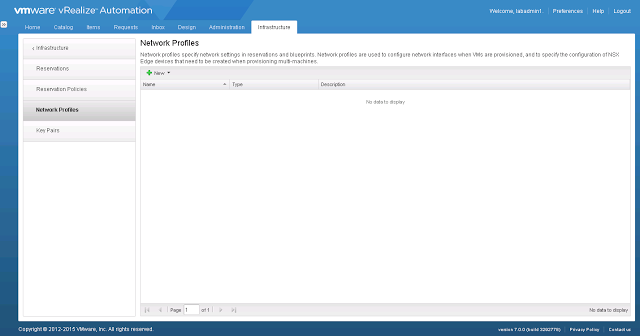
- Next to check, if any Network Profile is set for me. Since it did not ask any network related information so no Network Profile was created as well as any reservation policy. Since to create a VM, network is not a mandatory requirement so no default network Profile was set. But if you want to check the network portion you should create a Network Profile manually here.
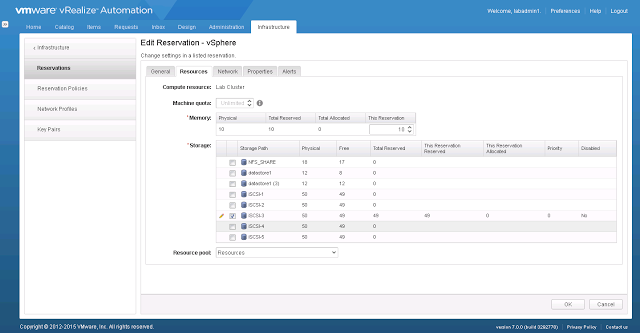
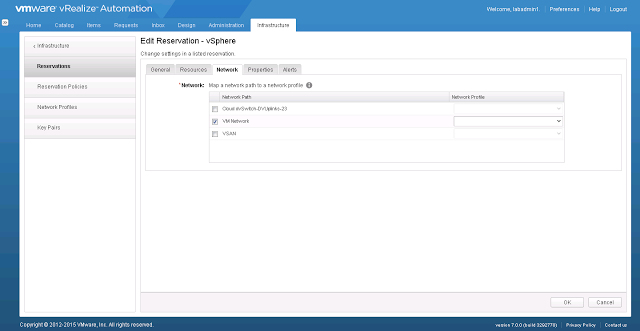
- Next, if we check the Reservation, we can see that the storage profile is set correctly as well as the network path is set.
- The new tab in vRA 7.0 is the Design Tab. We create the Blueprint and XaaS services here. We can see that a default blueprint is already create for us.
- Further checking we can see that this blueprint uses the same Template "Test1" that I had created in vSphere. Note the Designer, it is similar to what we had in Application Director. Options available in left panel are very interesting and deserves a separate discussion.
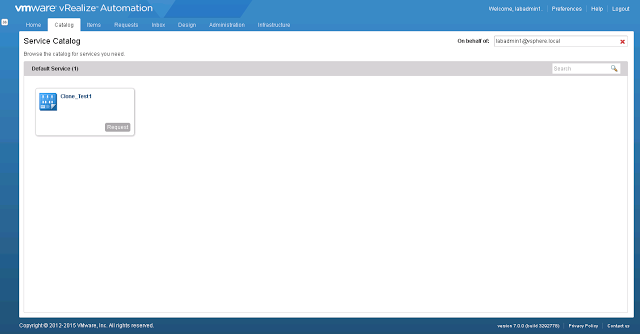
- Going to Catalog, we can see an item is already available for us.
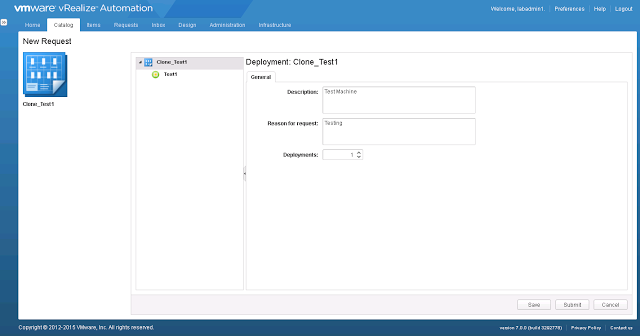
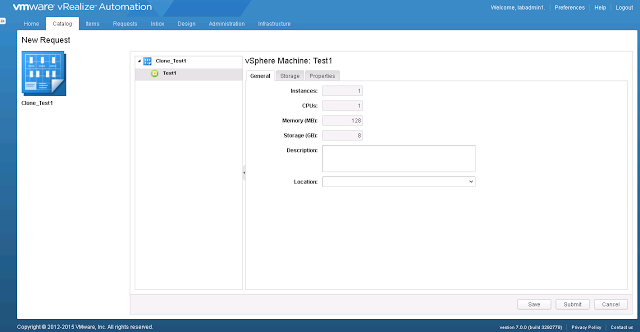
- We request for the item and provide the details required by the item. Note the Request pane. It is different from what we had in earlier vRA version. In first level we provide simple generic information like the Reason and how many machines are required.
- If we click on the item itself, we can see the rest of the details specific to a single VM.
- Click on Submit to submit the request.
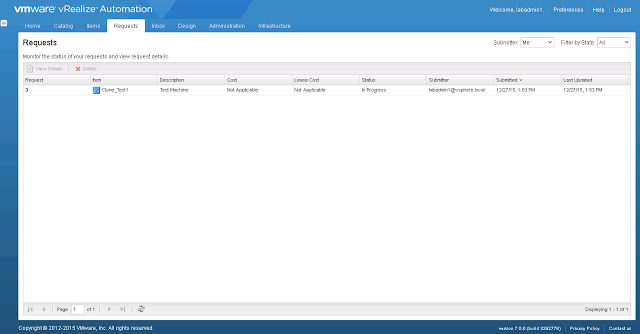
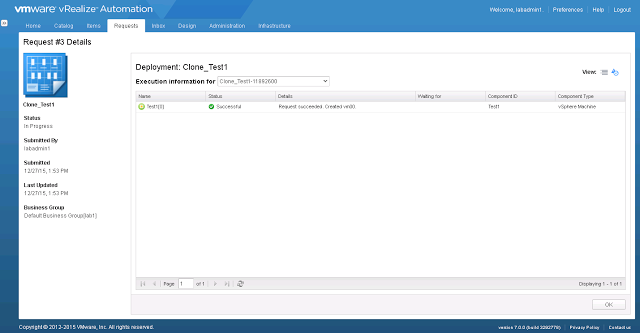
- Once the request is submitted, we can see the details from the Requests page. We can see that the task is "In Progress".
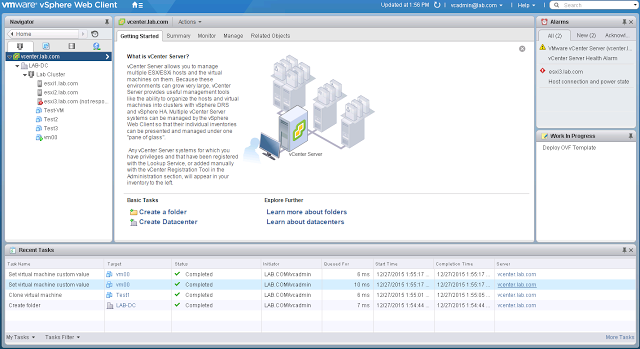
- If we check the backend vCenter server, we can see that the status of the respective tasks.
- If we see the Details of the Request, we can see the details of the requested item. Note the change in the design and also the "View" option.
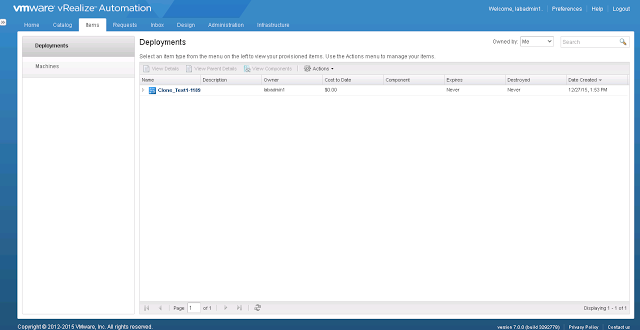
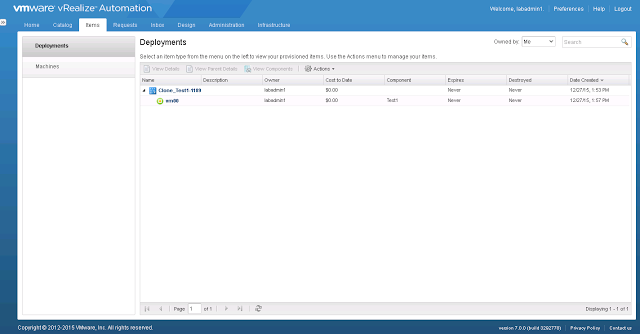
- So, the request is completed successfully. We can now check the status of the VM from the Items tab.
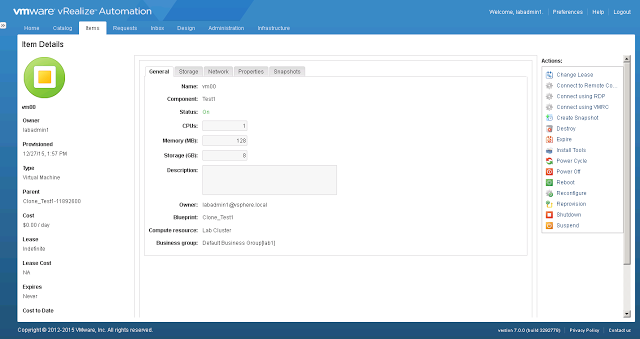
- If we click and go into the details of the Item. We can see all the respective details for the VM and also see the list of tasks that we can do on this item.
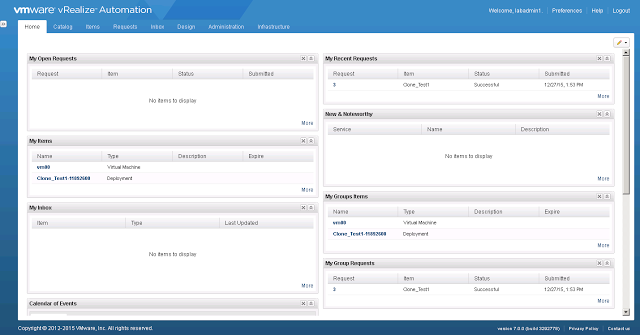
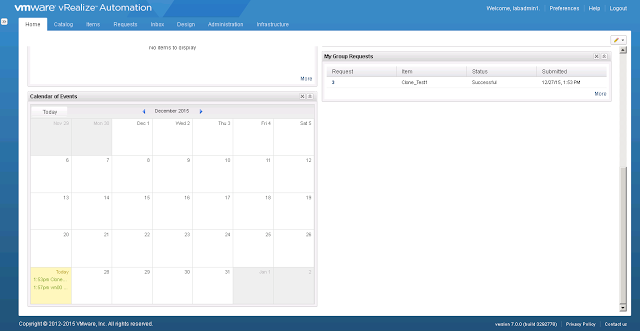
- Going to Home tab we can see details for this user.
Screenshots of the above tasks are provided below:


This concludes the setup. We can see that how easy it was to configure everything and getup and running.
Final Thoughts:
In my opinion, the Wizard based installation and initial configuration takes vRA 7.0 usability to another level. It is amazingly easy to setup and run an IaaS setup within the shortest time frame. You can build a PoC setup in less than one hour. You seriously can not beat this level of automation with any other cloud setup. My rating for this entire setup is provided below (in a scale of 1 to 5).
- Ease of Deployment - 5 Star
- Ease of Initial Setup - 4 Star (I had to know those two manual steps)
- Ease of Configuration - 5 Star
- Overall experience - 5 Star
Obviously vRA 7 is way more capable than the above setup (the above was most basic configuration), so in future posts I am going to cover advanced configurations (Branding, AD authentication, Complex BluePrint and Oh Yes Advanced Service Designer).
So watch out for new posts.